
- in How-tos , Tutorials by Jimmie Quick
Making a Pocket From an Envelope
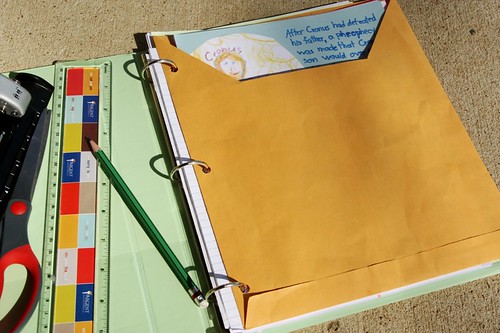
Using pockets in your notebooks is a perfect way to store larger items or items that you don’t want to punch holes in. We use a lot of page protectors, but sometimes we make a pocket from a manila envelope.
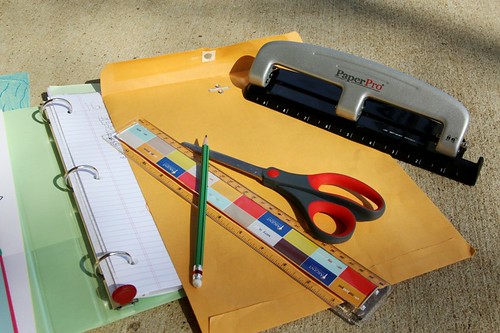
Step One: Get Supplies
You need a manila envelope, a ruler, a pencil, scissors or guillotine cutter, and a hole punch. In this example, I repurposed the envelope that I got at homeschool convention registration. You don’t have to buy new envelopes. Recycle ones from mail or the office.
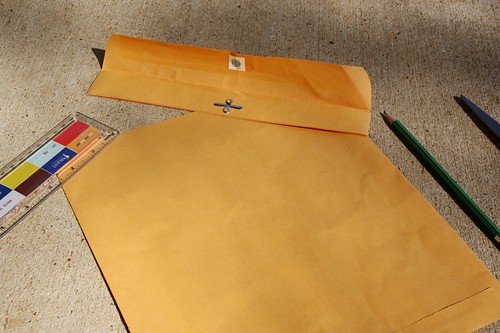
Step Two: Trim the Envelope
Cut off the flap of the envelope right below the metal clasp.
Step Three: Hole Punch

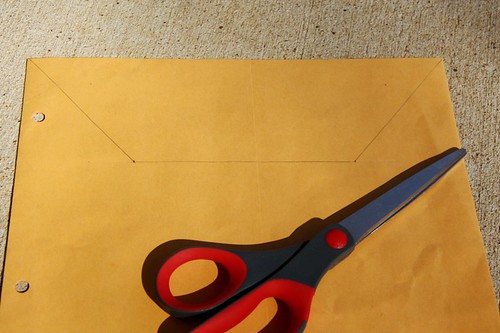
Step Four: Make a Notch
This step is optional, but I like how a notch makes the contents peek out and ask to be looked at. Using your ruler, mark a notch as shown in the photo and cut it out only on the front side. Leave the back of the envelope whole.
If desired, your child can label the envelope, stating what the contents are. If you repurposed an envelope with an address or other writing on it, you can cover that with a label or decorations.
The manila envelope makes a sturdy pocket that can withstand page turning and bulkier items.
Have you ever used an envelope for notebooking? Or do you repurpose other items to make pockets in your homeschool notebooks?