
- in How-tos , Tips by Jimmie Quick
Papercrafts in Notebooks {50 Things Series}

The blog post 50 Things to Put in a Notebook continues to be one of the most popular how to posts here at The Notebooking Fairy. This blog series brings that post into full detail, showing you specific examples of those fifty different things.
Fifty Things to Put into a Notebook: #11 Papercrafts
Over the years, we have incorporated plenty of simple papercrafts into our homeschool lessons. Sometimes they were just for fun because my daughter enjoys making them. And other times they had real teaching value.
The problem is what to do with those papercrafts after a few weeks have passed. By that time, you’ve created four more, and they are jumbled on the shelf, looking pretty messy. The solution is notebooking!
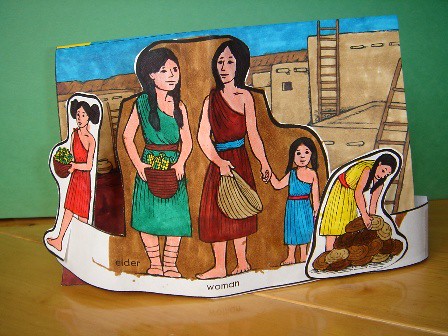
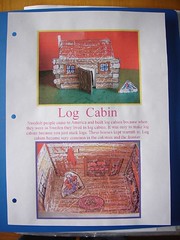
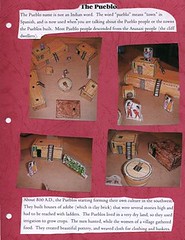
Was a 3D craft, later flattened onto a notebooking page.
Flatten the Papercrafts
Simply flatten the papercrafts and either affix them to cardstock or slip them into a page protector. Now you can keep it forever without its taking up much room. And papercrafts add color and interest to a notebook.
By the way, the papercrafts you see in this post came from reproducible books such as these titles:
- Easy Make & Learn Projects: Northeast Indians
- Easy Make & Learn Projects: Colonial America
- Interactive 3-D Maps: American History
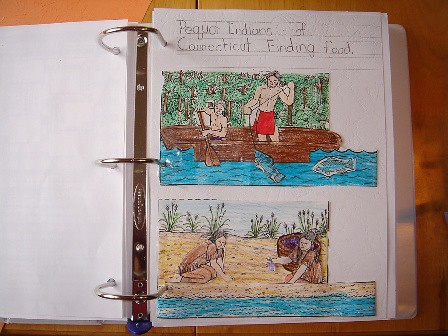
Photograph the Papercrafts
Sometimes a papercraft doesn’t work when collapsed. Or maybe a child simply can’t bear to change it. In that case, another option that we have used successfully is to photograph the papercraft and use those pictures on notebooking pages. Writing captions to explain the images ensures that your child is getting an academic value from the craft.
If you have ever found your notebooks growing boring, just stay tuned to this series as you see how varied they can be. There are at least fifty different ways!